Keen 5 Bugs
This page lists all the bugs, odd behaviours and unexpected actions that have been discovered in Keen 5.
Die but win
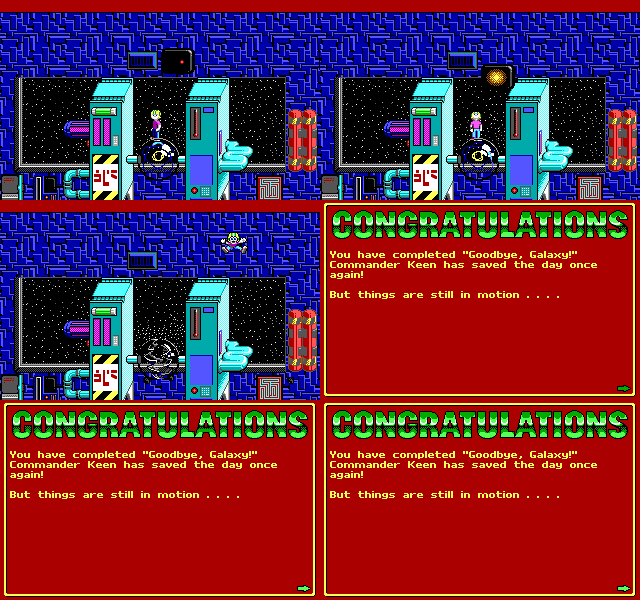
This is probably the most commonly seen trick. If, at the end of Keen 5 in the Quantum Explosion Dynamo Keen is too close to the Shikadi Mine he is using to destroy it, he will be killed along with the Q.E.D. However, the game will then end with Keen unharmed and victorious. Likewise, it is possible to break a fuse but still be killed by an enemy, and win the level.
Shelley/Door Trick
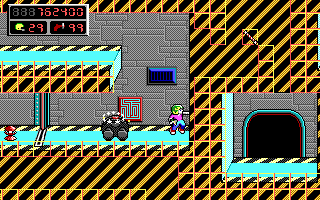
This trick allows you to warp to the secret level from level 10, the Brownian Motion Inducer. It only works in version 1.4, as this is the only version in which the Shelleys can push Keen.
- Start a game in Hard mode.
- Go to the Brownian Motion Inducer (The North globe level.)
- Make it to the area with the long hallway, where there are three small rooms above you with doors in them.
- In one of the small rooms, have a shelley push you towards the door. (Make sure you kill the Sparky first!).
- As you go past the door, press up, as if you were going to enter it. If done with correct timing, you should go through the door, and warp to Korath III Base.
- Alternatively, you can have the Shelleys on the right ledges push you while they jump down; this works on any difficulty.
This trick can be used in speed runs to get through the game incredibly fast. It allows you to skip 6 levels (3 Defense tunnels and 3 Machine levels), since the secret level will then warp you up to the area where the last two levels are.
Ampton Pole Push Door Trick
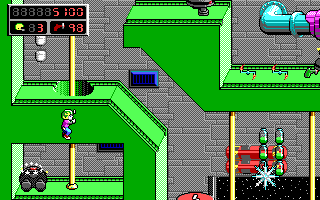
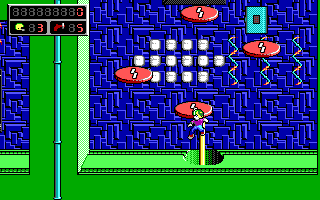
Warping to the secret level from any door can also be achieved by having a Little Ampton push you off a pole while still or climbing up on the pole, then going through a door without climbing any other poles. This can be exploited e.g. in the first level (seen here).
This happens because an animation control variable for Keen is mistakenly left at an inappropriate value when you leave a pole without dismounting it the normal way, which causes Keen's door-walking animation to play incorrectly, in turn causing the engine to look up the destination of the door incorrectly. Sprites in Keen have a "Y direction" property, which controls the direction of motion in some animations, such as pole-climbing. Keen's Y direction is normally set to 1, but the pole-climbing code sets it to 0 when Keen is still on a pole, and -1 when Keen is climbing up a pole. If you are pushed off a pole, the normal pole-dismounting code that resets Keen's Y direction to 1 does not run. This ends up cancelling out the Y-shift in Keen's door walking animation, so he does not walk "up" one tile as he's supposed to when he enters the door (you can see this in the YouTube clip linked above). When the engine looks up the destination of the door tile Keen overlaps, it ends up looking at a tile one tile below the tile that actually records the door's destination. The erroneous door destination value it gets back is 0, which happens to be the value hard-coded in the engine to indicate a warp to Korath III.
Exit Omegamatic
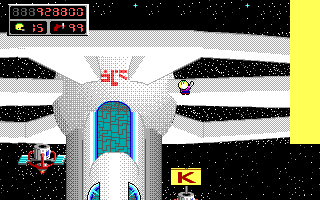
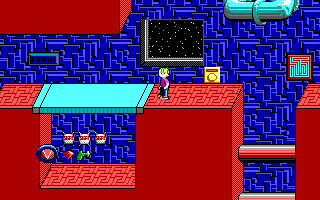
This is probably the least known bug in the game. It allows you to walk around in space outside the Omegamatic in the map level.
- Start out by getting to the last level, the Quantum Explosion Dynamo.
- On the map level, stand over to the very right side, against the wall of the tunnel. Stand right outside the globe. Enter the level.
- Die. This is probably quickest by running into the Spindreds up above where you start.
- Choose to return to the Omegamatic.
- If done correctly, you should be halfway inside the wall of the tunnel. Just move to the right to get out, or remain idle until Keen does his waving animation, which will cause him to be displaced some distance out of the wall. Be warned: You cannot get back into the Omegamatic once you do this (unless you use cheats).
This cannot do anything for you, not even getting to the secret level. It is just a fun trick that allows you to see all of the map, including the yellow around the outside.
This trick can also be done in the Regulation Control Center, and possibly the other domes, due to their odd collision boxes.
Secret Elevator
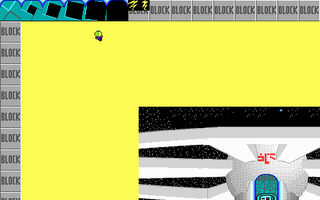
There is a secret bug elevator hidden outside of the map.
- First, use the above bug (Exit Omegamatic) to get outside.
- Now, go up to the yellow at the top of the map.
- Go over to about where the left corner of the map is, and walk up near the top edge.
- Somewhere around here, if you try and walk north, you will "walk into" an elevator, and disappear. This will freeze the game, so you should probably use DOSbox to do it.
This bug is caused by the fact that the game code requires the elevator tiles to be placed in the top of the map, above the view of the player. Although you cannot see the actual tiles, you can still walk into them, causing the player to enter a non-existent elevator.
Fuse Structure Typo
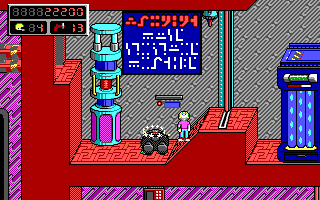
The "Warning: Fuse Structure Fragile" actually reads "Warning: Fuse Strcture Fragile"
- Enter the Regulation Control Center or Energy Flow Systems.
- Read the sign by the fuse.
The sign is also in Brownian Motion Inducer, but the part of the sign where the typo occurs is obscured by the machine.
Typo in High Scores entrance
The High Scores level is inaccessible from the world-map; however, there are four alternative ways to reach it (see the aforementioned link).
When using two of the methods (level warp cheat and TEDLEVEL command line), you will see the entrance text for each level. In the particular case of the High Scores level, there is a typo (an absent space between "the" and "High") in the text, which might not be considered a true bug as this text was never supposed to be shown to the player.
Lure Robo Red off a ledge
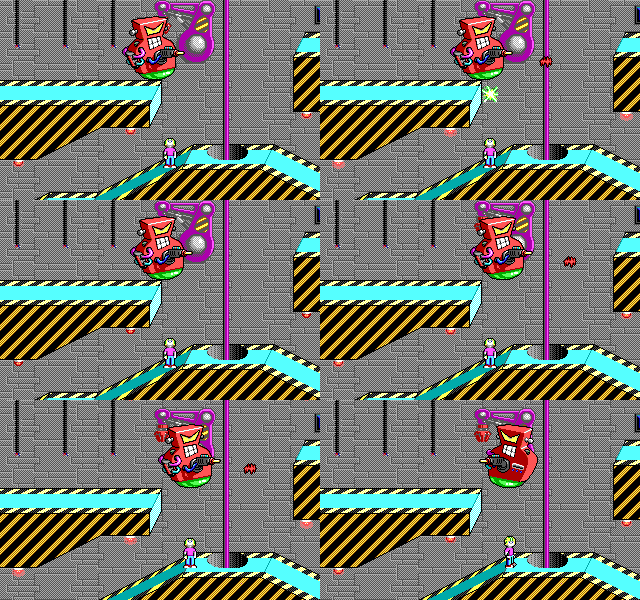
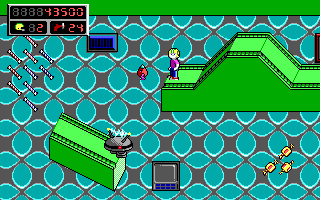
Robo Red can be lured off the edge of a ledge by getting its attention at just the right moment. The best way to do it is to shoot it right when it is on the edge. Robo Red always moves a certain distance after it shoots (so be careful) in the direction its attention is focused to, and it seems on those occasions the game does not check whether the next tile on the robot's path is solid or not, and thus the robot may end up in air. It can be moved further by shooting it more. In the air it appears to be twisting because on its both sides the tiles are non-solid, which usually tells it it is time to turn around, which it does now too, but cannot find solid land on the opposite direction either, turning around again, and so on.
- There is a YouTube video showing Robo Red being lured off a ledge
Do not fall off a rotating block
Certain actions of Keen's are immune to gravity. If Keen is looking up or down or ledgegripping, he cannot fall. Looking up on a rotating block will allow Keen to stay on it when it flips. If he then stops looking up when the block is flat, he can stand normally on the block when it spins until his "bored" animations start.
See also: Immune to gravity
Trapped Secret Area
At the end of Defense Tunnel Sorra is a small secret area next to a ceiling-mounted laser cannon; jumping correctly will allow Keen to climb inside the wall to collect some points, but it is impossible to get out again without cheating.
In version 1.4 (GT Interactive Software), the secret area was changed to allow Keen to drop down to the exit door behind the yellow key gem door. Though, Keen could still get trapped if he does not have the keycard and/or did not open the yellow gem door beforehand.
Shelley-ular errors
There are two different clipping errors having to do with Shelleys. One, you can force a Shelley to freeze itself onto a slanted platform:
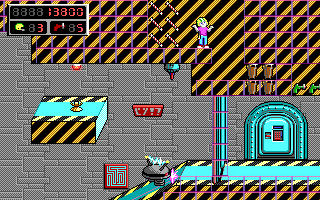
- Go to the top of Neutrino Burst Injector in Hard mode, then get a Shelley on screen.
- Stand on a slanted part of the floor and wait.
- The Shelley will collide with you, then freeze with its leg in the platform. This makes it easy to jump over the Shelley.
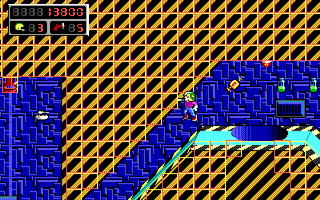
Two, you can force a Shelley off an edge and in some conditions, like the top of the machine in Brownian Motion Inducer, onto a different ledge (video):
- Make the Shelley stand on an edge, stand behind it and wait for it to reverse direction.
- The Shelley will be a bit off its platform. Push it gently to make it go farther. If you do it for a long time, the Shelley may make it onto another ledge and start walking normally there.
Keen appears in front of foreground
If a moving platform touches the player while performing the ledge climbing animation, Keen will be made visible above all foreground tiles. Keen returns to normal rendering when completing the ledge climbing animation without being pushed by a moving platform, or after going through a door.
Unobtainable candy
In Defense Tunnel Teln, there is a secret passage containing four pieces of candy. Only three of these are obtainable, the fourth is in a solid tile. This is impossible to see without patches.
Spindred Trap
In the Quantum Explosion Dynamo (and maybe some other stages), it's possible to trap the two hazardous Spindreds by flicking the switch at the right time; flicking enough times will result in them being trapped in the left side of the pit, where they become more of a nuisance then a hazard. This bug involves the Spindred's collision properties, but because a wall suddenly appears, it will slide off to one side, in the same manner as Keen when no-clip is suddenly turned off when he is in a wall.
Pole bug in Security Center
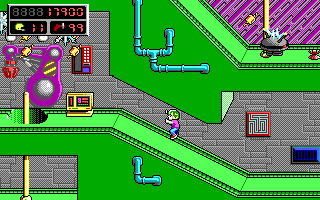
In the Security Center, there are three tile errors in how the level is put together, which was missed by the level designers.
Tile bug in Korath III Base
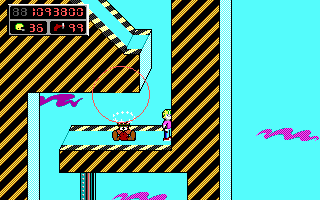
In the secret Korath III Base, there is a single tile error in how the level is put together, which was missed by the level designers.
Unfinished Slope Ceilings
Throughout the entire game there are tiles with wrong back and foreground information. Exemplary this can be spotted in the fifth level (Defense Tunnel Burrh). Over there some ceiling slopes appear to be in the background but need to be in the foreground. Furthermore some of them are, for some reason, not sloped at all. Mainly this occurs with tiles having a 45 degree angle.
Keen Ampton Push Glitch
If Keen is placing a gem, he can be pushed off the gem holder. When this happens he is no longer on the right tile to place the gem and is stuck in his 'gem placing' behavior, with the player being utterly unable to control him. This can be done by any sprite that can push the player, such as a platform or Little Ampton. Notably, Keen does not respond to gravity in this position and so can be pushed off slopes into midair. Similarly, Keen 'slides' to align himself with the keyholder, so if pushed off at the right time will slide around the level by himself.
The player can regain control if Keen is killed, placed on a moving platform, hits a wall or is pushed back onto the gem holder. (This doesn't have to be the same gem holder he was on; if he places a red gem, is interrupted and then pushed onto a green gem holder he will open the green door, losing a green gem.)
In the example shown here a Little Ampton pushed the player off the keyholder, which resulted in them sliding left, up the slope. On reaching the top of the slope they reversed direction, moving through the air until they hit a wall (the door) which reset Keen. God mode was enabled for this, but is not necessary.
Keen floating
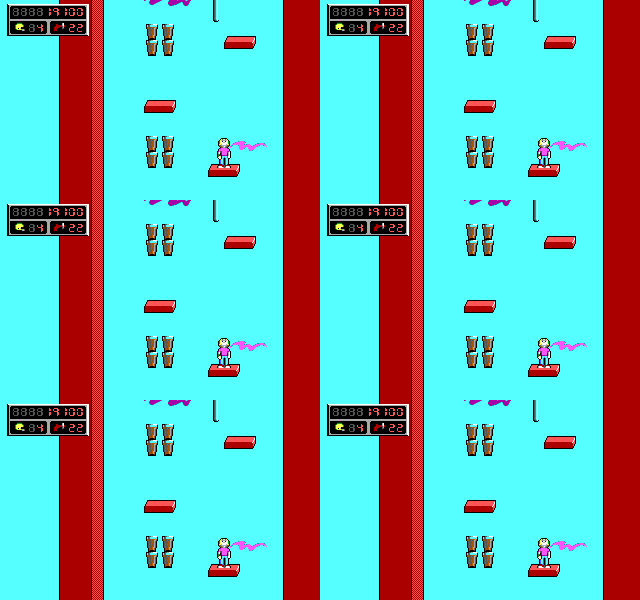
In the Middle-Right section of the Gravitational Damping Hub, there are four lifts that pass directly above a pole. If Keen jumps onto the pole as the lift passes over and the up arrow key is held, Keen will levitate near the top of the pole, however if Keen grabs the pole after touching the lift without holding the up arrow key, he will simply be pushed off and fall. If, after using this glitch, Keen enters a door without climbing any other poles, he will enter the door one tile too low, and teleport to Korath III.
Flags clipping in front of Scorebox
See the Keen 4 Flags clipping in front of Scorebox bug, which applies to Keen 5 as well.
